#stampinup
I'm glad you're visiting our Creation Station blog! Our theme this time is graduation and one of our featured products is the new chalkboard paper.
I think you'll like my creation today--and I'm including a tutorial so you can make this awesome interactive card for all the grads (brides, moms-to-be) in your life!!!
1. I started with an 11" x 4-1/4" piece of Real Red card stock. Using the Simply Scored score board, I scored it at 2", 7-1/4", and 7-3/8". (The tutorial uses Whisper White so you can see the score marks easily.)
2. Fold the piece inward along the score lines.
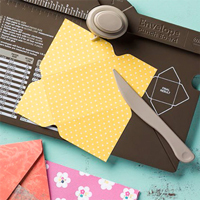
3. Using the Envelope Punch board, line up the long edge of the piece at the 1" mark and punch.
4. Flip over, and line up at the 1" mark and punch again.
5. Cut a 1" x 9" piece of coordinating designer series paper. I used Back to Black. Wrap it all the way around the card to form a pocket at the bottom for the gift card. I added a length of Real Red 1/4" Cotton Ribbon. (See picture in step 8.)
6. Cut a 6-1/2" x 3-3/4" piece of Chalkboard Paper. Score at 1-3/4" and 6". Fold this piece into a Z fold, with the shortest flap toward the back. Stamp both the inside of the card and the flap. I used the "B.Y.O.P." photopolymer set and Whisper White craft ink. I also used my Heat Tool to set the ink because it takes sooooo long to dry!
7. Add stick strip to the narrow flap at the top.
8. Tuck the insert all the way down into the pouch and make sure it's centered.

9. Remove the sticky strip and close the top of the card. Make sure the outside (top side?) of the card lines up correctly before burnishing to attach the insert.
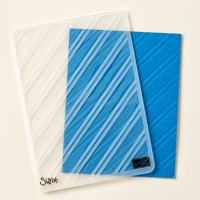
10. Decorate the outside of your card. I used the Stylish Stripes Embossing Folder to give a little more interest to the front of the card. I stamped the"Congratulations, Grad!" sentiment from the "B.Y.O.P." stamp set in Memento Tuxedo Black onto a Whisper White piece and then cut it with the Window Frames Framelits. I cut a larger Window Frame in Basic Black and used the Festive Piercing Templates to pierce around the edge. I stamped three hearts from the "B.Y.O.P." set in Real Red and adhered them with Stampin' Dimensionals.
11. When you open the card, the gift card pops out for a nice surprise! So fun! I hope you'll enjoy making these.
Now go on and hop around the rest of the blog hop. I know our team--though small, we're mighty!--has some great projects for you. Just use the "back" and "next" buttons to keep hopping. See you next time!
Product List















Cute gift card Kathy! Amazing how different using the same stamp set can look.
ReplyDelete