This gift box is super easy to make! The white box is made from the 12" by 12" piece of white cardboard that comes in every package of Stampin' Up's Designer Series Papers! Score that sheet at 4" and 8" on two sides so that you end up with 9 grid square with the writing in the center, like this.
Then cut along the dotted lines. Fold up the sides of your box and adhere, using your favorite strong adhesive (Tear & Tape, (Stampin' Seal+, Multi-Purpose Liquid Glue). Your box will look like this. (Don't worry, we'll take care of the writing in a later step.)
To make the lid, start with an 8" by 8" piece of Designer Series Paper. (Cut a 4" square from the remaining 4" by 12" strip and save it.)
Score the 8" by 8" DSP at 7/8" and 1-7/8" along each side.
Cut off the X'd squares and discard (or save in your "card parts" pile.)
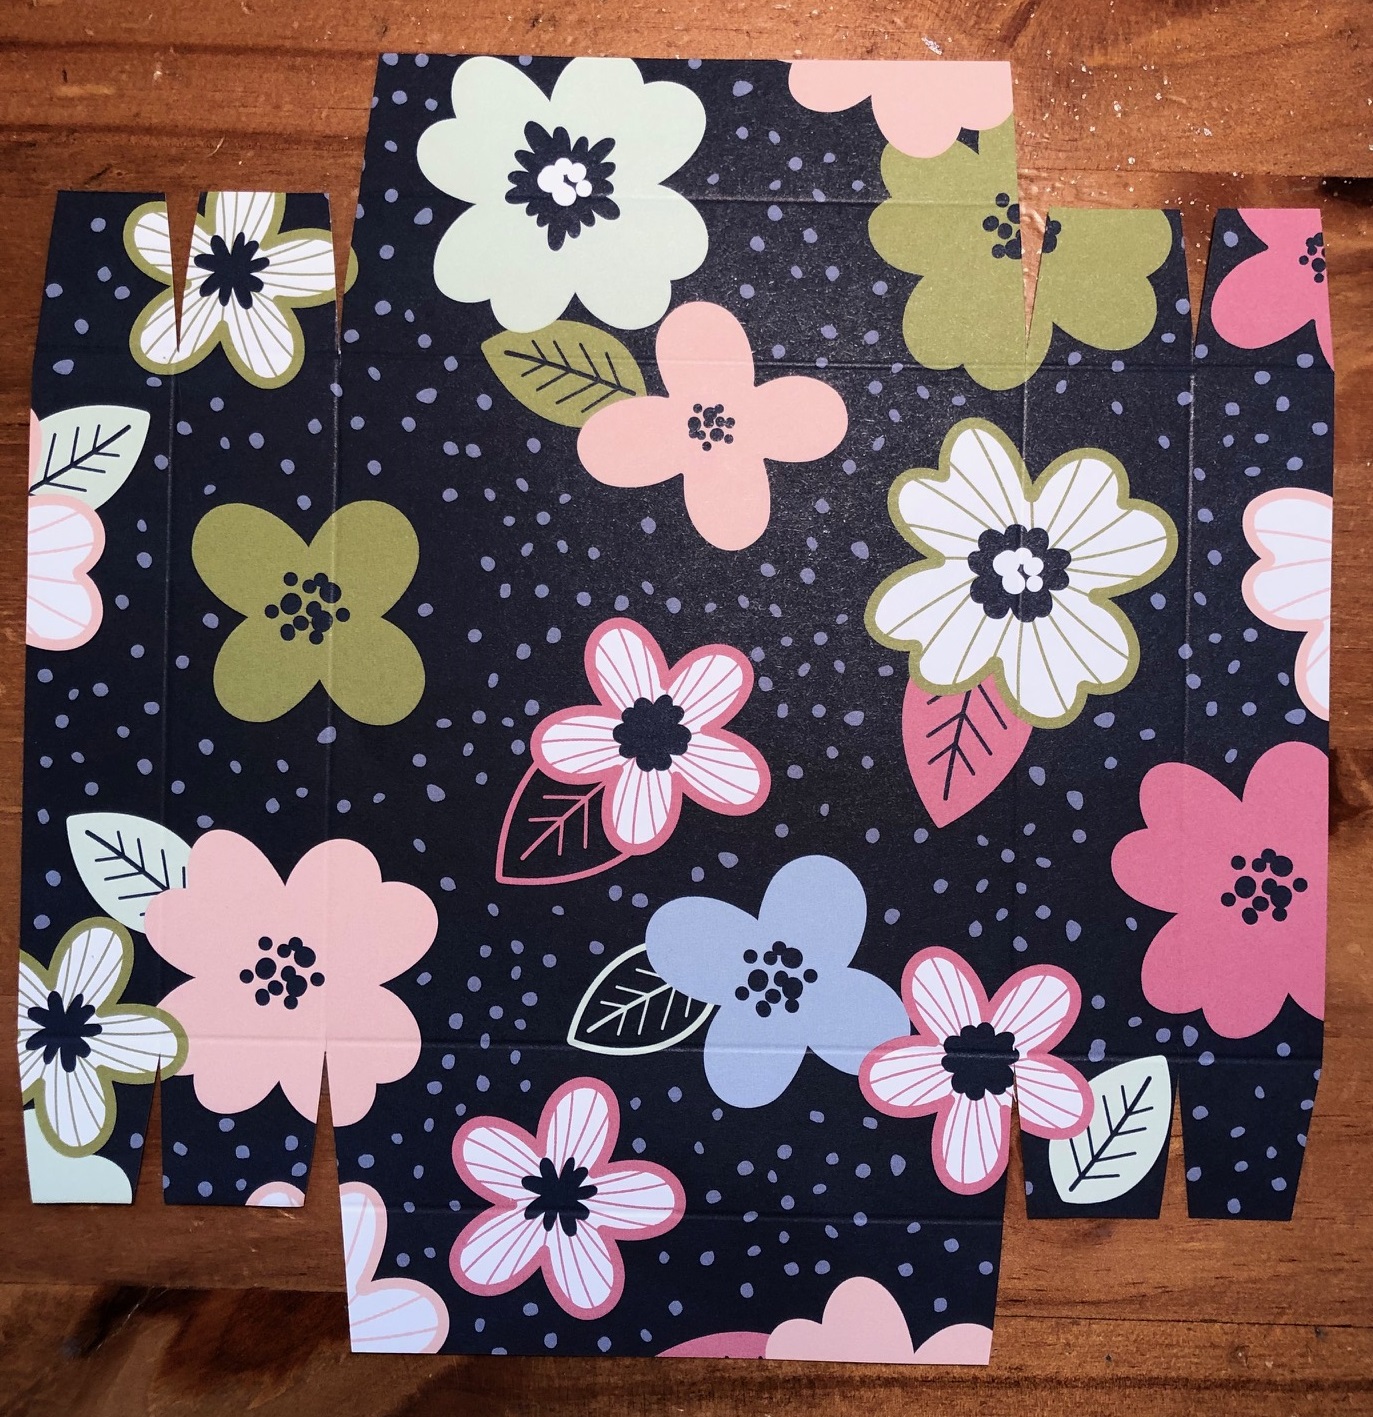
Cut the dashed lines and miter all the edges.
Here's what your DSP should look like at this stage.
Next, fold along all the score lines. Use your bone folder to make sure the folds are crisp.
Fold the sides with the flaps over (you can use adhesive if you want) and make sure the flaps are headed toward the inside of the box, as shown. Apply adhesive to the sides without the flaps.
Now fold one side with out flaps over the flaps (they tuck inside), squaring up the lid, and adhere. This step is a little fiddly, so take your time. In this picture, my thumb is pushing the side over the flap on the right side.
Repeat on the other side and your lid is finished!
Adhere your saved 4" by 4" DSP piece to the bottom of the box, covering the printing.
Decorate your lid as desired.


No comments:
Post a Comment