Showing posts with label Geared Up Garage. Show all posts

Monday, April 6, 2020

Boss Garage: Kit to Go

#stampinup   #faithfulinkspirations   #KitsToGo   I hope this blog post finds you and your family safe and healthy.  We're still hanging out here at the Kartak household, trying to keep busy and trying not to drive each other crazy.

I've been reading and knitting and doing a little stamping. I should be doing MORE stamping, but I haven't been as motivated as I should be. (It's hard to stamp from my bed--ha!)

If you are looking for a crafty activity, I have a few ideas for you. Last week, I shared my Bird Ballad kit-to-go and that's still available. I also told you about Stampin' Up's Paper Pumpkin kits...and I'm repeating that information here.

If you'd like to make something pretty and send it to someone, the easiest way is to subscribe to Paper Pumpkin. You'll receive an all-inclusive kit once a month. These kits are so fun and easy to do. If you have kids at home, they can create along with you. Sign up by April 10 to get the "My Wonderful Family" kit. The kit is $22 "pay as you go." You can save money by subscribing:  
3 months for $63; 6 months for $114; or 12 months for $220. Click on the Paper Pumpkin on the right side of my blog, or contact me for more info. 

This week I have a masculine kit-to-go that uses the "Geared Up Garage" stamp set found on page 154 of the Annual Catalog. There are two options: a product plus pre-cut card kit or just the pre-cut card kit.
Option One: Product Plus Pre-Cut Card Kit
Purchase all the following items on my online store (click on one of the thumbnails below to start you order) and I'll send you all the supplies and instructions to make three of these boss cards.

Geared Up Garage stamp set
Basic Black Stampin' Blends Combo
So Saffron Stampin' Blends Combo
Basic Gray Ink Pad
Acrylic Block D

The total, with shipping and tax (if you're in Maryland), is $64.13.


Option Two Pre-Cut Card Kit
Already have the stamp set and supplies? Then order the pre-cut card kit to make three of these cards. The kit costs $10 (or FREE with a $50 order of any type) and includes all pre-cut card stock, die cuts, and envelopes. To order, email me at kkstamper@comcast.net and I'll give you instructions for paying me online. The kits will be sent to you via USPS.

Stay safe. Stay healthy. Stay home.


Product List

Friday, September 13, 2019

Geared Up Celebration

#stampinup   #faithfulinkspirations   #FabulousFriday   I never seem to have enough masculine cards in my stash. Does that happen to you? I had a fabulous idea to use the colors and some elements from the Come Sail Away Suite of products together with the "Geared Up Garage" stamp set for today's card. The card turned out more fabulous than I imagined!
I started by stamping the oil stain and little nuts from the "Geared Up Garage" stamp set in Basic Gray onto a 3-3/4" by 5" Smoky Slate panel. I stamped some elements in full strength ink and some stamped off. I adhered a 2" by 3-3/4" strip of striped Come Sail Away Designer Series Paper to this piece and then onto a 3-7/8" by 5-1/8" Night of Navy Card Stock panel. (Bonus Protip: Use the Garage Gears Dies to the gears element out first!) I wrapped two lengths of Night of Navy/Sahara Sand Baker's Twine around before adhering everything to a Thick Whisper White Card Stock card base. I used another length of Baker's Twine to tie on a cute key from the Classic Garage Metal Elements.

Next, I stamped the sentiment, tool box, and oil can in Night of Navy onto Whisper White Card Stock. I punched out the sentiment with the Tailored Tag Punch and cut out the other elements with their matching Garage Gears Dies. Afterwards, I added some Basic Gray nut images to the label. I adhered these elements to the card with Stampin' Dimensonals.

Finally, I used strategically placed Mini Glue Dots to adhere the gear element to the card. I think this is a fabulous masculine card. I'm so pleased with how it turned out!


Product List

Tuesday, July 2, 2019

Classic Garage

#stampinup   #faithfulinkspirations   #ProTipTuesday   Last week I share one of my favorite pro-tips for saving ribbon. Today I'm going to show you how to conserve your card stock with another of my favorite PROTIPs:  die-cut or punch shapes out of the center of your card stock mat layer.

I stamped a sentiment from "Geared Up Garage" in Versamark onto the center of a 3-7/8" by 5-1/8" Blueberry Bushel Card Stock mat. I added some Silver Stampin' Emboss Powder and set it with the Heat Tool. Then I cut out the sentiment with one of the Stitched Nestled Labels Dies.

My main panel for this card is a 3-3/4" by 5" Gray Granite Card Stock piece onto which I stamped the oil stain from the "Geared Up Garage" stamp set several times in Versamark and in Gray Granite Ink. I adhered that to the Blueberry Bushel mat and then onto a Basic Gray Card Stock card base, cut lengthwise.

On top of that, I built a collage by adhering gears that I cut from a Silver Foil Sheet using the Garage Gear Dies. I added the label with Stampin' Dimensionals and a few other silver gears with a combination of regular and Mini Stampin' Dimensionals.

See? No one will notice that the mat has a hole in it when you place the main panel on top! I hope you'll try this way to conserve your card stock and I hope you're enjoying my weekly pro-tips!


tams# 34790

Product List

Sunday, May 5, 2019

Creation Station: MonuMENtal

#stampinup   #creationstation   #faithfulinkspirations   Hi there! Welcome to my blog and welcome to the Creation Station May blog hop. This month we're featuring monuMENtal projects in honor of those wonderful men in our lives! When this theme was decided, I knew I'd pull out the Geared Up Garage Suite of products on pages 42 and 43 of the Occasions catalog and get to work. I also had an idea in my mind for a fun card. Did I pull it off? Let's take a look.

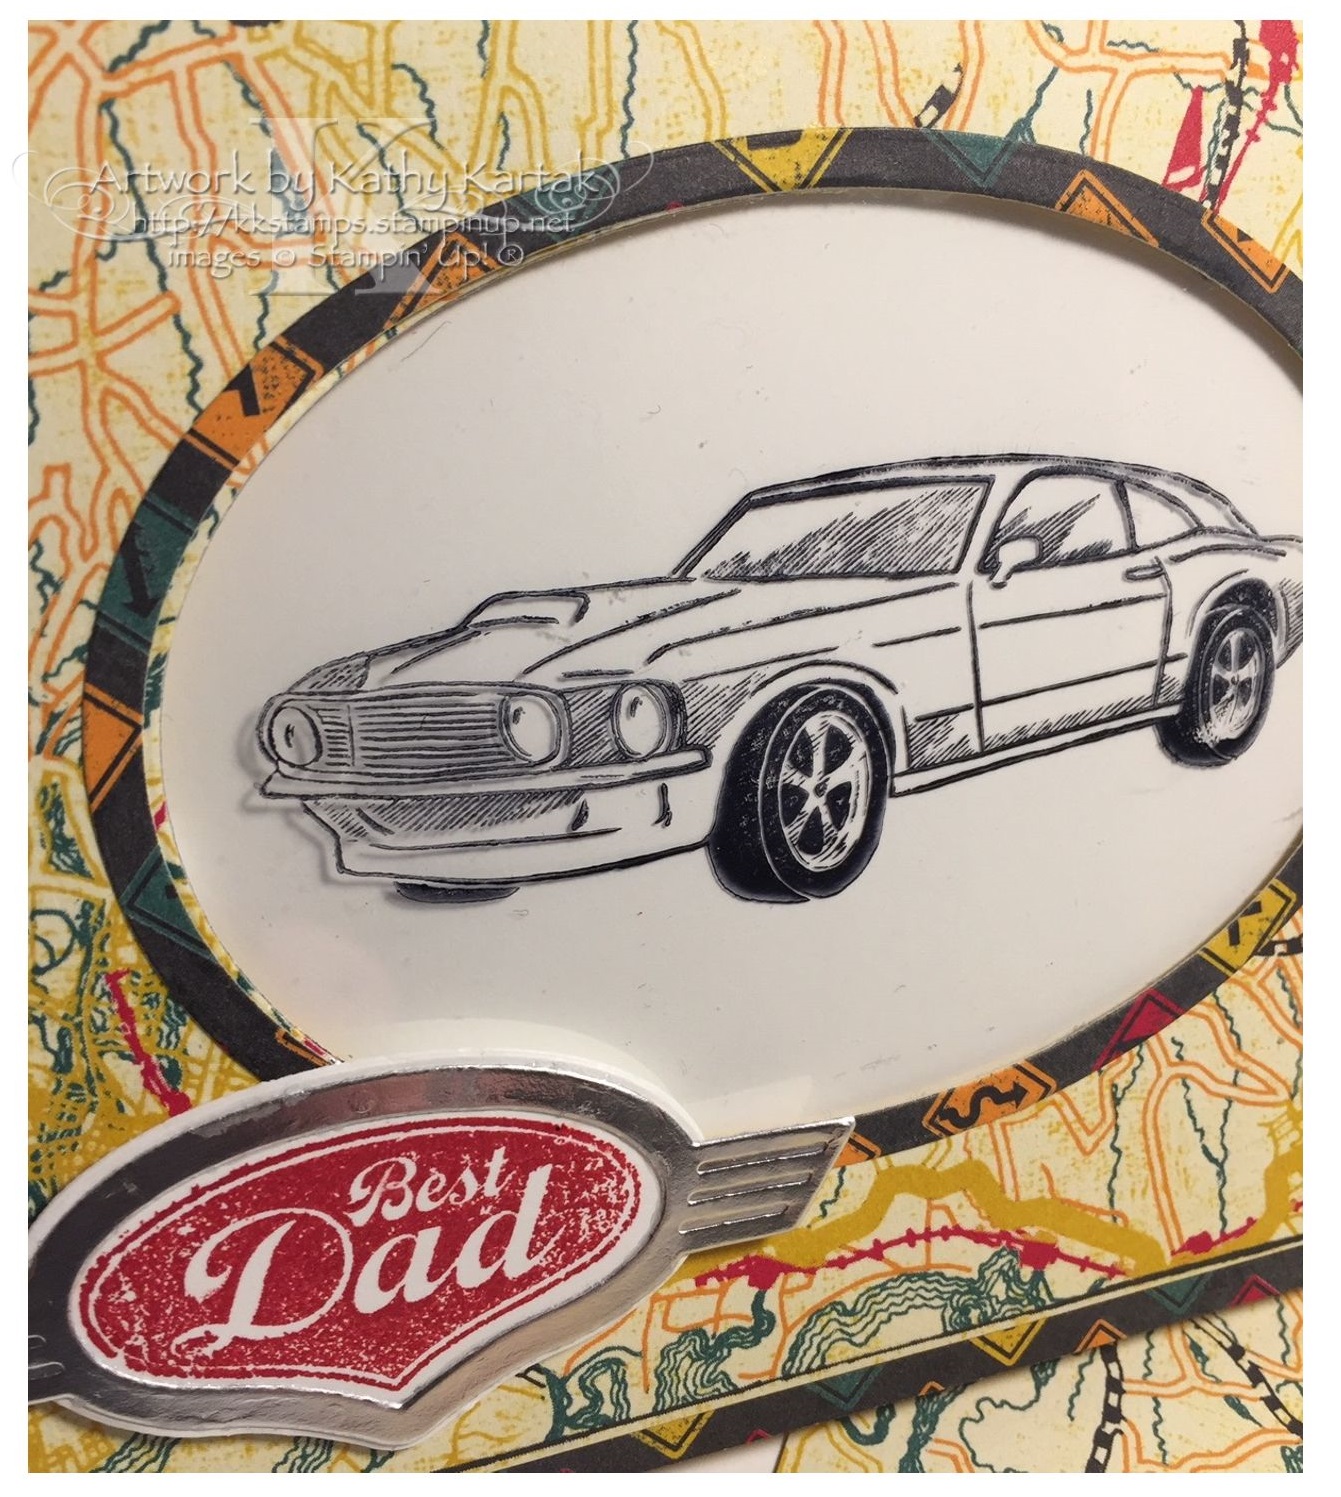
I love everything in the Geared Up Garage Suite--and I used just about all of it on this card!  The front of the card features two different sheets of the Classic Garage 6" by 6" Designer Series Paper. I stamped the car from the "Geared Up Garage" stamp set in Staz-On Jet Black Ink onto a Window Sheet. I used the Layering Ovals Dies to cut a window in the center of the DSP and adhered the Window Sheet to the back. I also used the Layering Ovals Dies to cut a frame for my window. I adhered the frame with the Fine-Tip Glue Pen.


Here's a closer look at the front of the card...but keep scrolling for the magic!


I made a magic card! Just pull on the tab and slide out the panel and the card turns from black and white into fabulous living color! I used Light & Dark Real Red, Light Daffodil Delight, and Light Smoky Slate Blends to color the magic car. Watch the video! It's so cool. (I'm kind of proud of myself. Can you tell?)


But I didn't stop there! I made a double fold out card. Lookie!
I stamped a sentiment from "Geared Up Garage" in Basic Gray Ink onto Whisper White Card Stock and cut it out with the car die from the Garage Gears Dies. I used Stampin' Dimensionals to adhere the car to an oval I cut from an other sheet of Classic Garage DSP.


But wait! The card opens up one more time!
The gears are cut from a sheet of Classic Garage DSP--they fit perfectly! I adhered them to the card using the Fine-Tip Glue Pen.

I stamped another sentiment from the "Geared Up Garage" stamp set in Real Red Ink onto Whisper White and cut it out with its matching Garage Gears Die. I added bit of Black and Silver 1/4" Metallic Ribbon to the back of the medallion with a Glue Dot and then adhered the medallion to the card with Stampin' Dimensionals.

I hope you enjoyed my project. I really enjoyed making it and I'm so pleased (and a little surprised) with how it turned out.
Our next design team member is Mikaela Titheridge, a Stampin' Up Artisan. Hop on over to her blog and you'll see why!!

https://thecraftyoinkpen.co.uk/2019/05/monumental.html


Product List
Glue Dots
[103683]
$5.25