Sunday, January 3, 2021

Creation Station: How To Be A Millionaire


#stampinup   #creationstation   #faithfulinkspirations   Happy New Year! Welcome to 2021! Let's hope this year brings us peace and health and happiness! I'm grateful to have all those things in my life, but I know that the world is a crazy place and not everyone is as blessed. If you have blessings in your life, the least you can do is be grateful--and the best you can do is share your blessings! I challenge you to share the blessings you have with someone. I promise that you'll be glad you did!

With that PSA out of the way, let's get to stamping, OK? The Creation Station Design Team has a new challenge for January and that is to select a stamp set designed by one of Stampin' Up's Million Dollar Achievers to use in our project. Did you know that when a Stampin' Up demonstrator reaches the million dollar career personal sales mark that they get to work with the Stampin' Up design team to create a stamp set?! How fun is that?! My upline, Connie Heisey, is a Million Dollar Achiever and she designed the "Waterfront" stamp set on page 129 in the Annual Catalog. I even asked Connie to autograph my stamp set!

We also have a Million Dollar Achiever on our Creation Station Design Team--our very own Dena Rekow! She designed the "Pretty Perennials" stamp set on page 31 in the January to June 2021 Mini Catalog that goes live in just a couple of days (January 5th)! And that's the set I've chosen for today's project. I also used the coordinating Perennial Petals Dies and Paper Blooms Designer Series Paper. You can earn the DSP with a $50 purchase during Sale-A-Bration--and that starts January 5th, too! I made this cute box and coordinating card.

To make the card, I started with a quarter sheet of Basic White Card Stock* and stamped a variety of images from the "Pretty Perennials" stamp set in Rococo Rose, Petal Pink, Seaside Spray, Night of Navy, and Old Olive Inks along the top and bottom of the card stock. Once I finished stamping, I cut this down to 3-7/8" by 5-1/8" and adhered it to a 4" by 5-1/4" Night of Navy Card Stock mat. I adhered two 1" by 3-7/8" strips of Paper Blooms DSP to each end of the stamped panel and then 1-1/4" strip of Rococo Rose Card Stock in the center. I wrapped a length of Petal Pink Organdy Striped Ribbon around the center and then adhered it to a Rococo Rose Card Stock Card base.

Next, I stamped the "happy" image in Night of Navy onto Basic White Card Stock and quickly sprinkled on some Clear Stampin' Emboss Powder. I set it with my Heat Tool and then cut it out with one of the Stitched Rectangle Dies. I adhered this to a just larger Night of Navy Card Stock piece that I cut with another of the Stitched Rectangle Dies. I adhered this element to the card with Stampin' Dimensionals.

I stamped the "for you" image in Versamark Ink onto Night of Navy Card Stock, sprinkled on some White Stampin' Emboss Powder, and set it with my Heat Tool. I cut it out with one of the Stitched Rectangles Dies--even though the die was a little longer than the sentiment. I used some washi tape to hold the die in place and ran it through my Stampin' Cut & Emboss Machine (the "Big Boss") and cut it down to size. I adhered this to the card with Mini Stampin' Dimensionals.


I used one of the Perennial Petals Dies to cut the leaf elements from Soft Sea Foam Card Stock. I laid these bottom side up on a scrap piece of paper and added a light coat of Multi-purpose Liquid Glue. I waited a few seconds before adhering these pieces to the card-- that lets the glue get a bit tacky, but it doesn't squirt off the sides when you adhere the element. I used a couple more of the Perennial Petals Dies to cut the Night of Navy flower and the Petal Pink center out of the Paper Blooms DSP. I curled the flower petals with my Bone Folder and adhered the pieces with Mini Glue Dots. I also used a Mini Glue Dot to adhere the flowers to the card. As a finishing touch, I used my Take Your Pick Tool to add a Petal Pink Elegant Faceted Gem to the center of each flower.

Here's the finished card. It turned out better than I had initially envisioned!

The box was super easy to make--the white box is made from the 12" by 12" white backing sheet that comes with a pack of DSP! Please see the tutorial for making the box and lid.

I tied 50" of  Petal Pink Organdy Striped Ribbon around the box and added a complementary tag. 

I started with a 2" strip of the Paper Blooms DSP and added a 1-3/4 strip of Petal Pink Card Stock to the center. I punched the top with the Scalloped Tag Topper Punch. I embossed the "for you" with Clear Stampin' Emboss Powder over Night of Navy Ink and built the flower using several Perennial Petals Dies and the Paper Blooms DSP.

I hope you've enjoyed my project and tutorial. Next up is Yvonne Spikmans Van Bruggen all the way from the Netherlands. Gelukkig nieuwjaar, Yvonne! And happy new year to all the Creation Station blog hop followers!


See you next month for another fun blog up...and check back on my blog. I'll be posting samples from the new January to June 2021 Mini Catalog to inspire your creativity!


*Stampin' Up is discontinuing Whisper White, but the new Basic White is here!

Here's my little helper, Toby. He loves to visit me while I'm creating!

Product List

4" By 4" Gift Box and Lid Tutorial


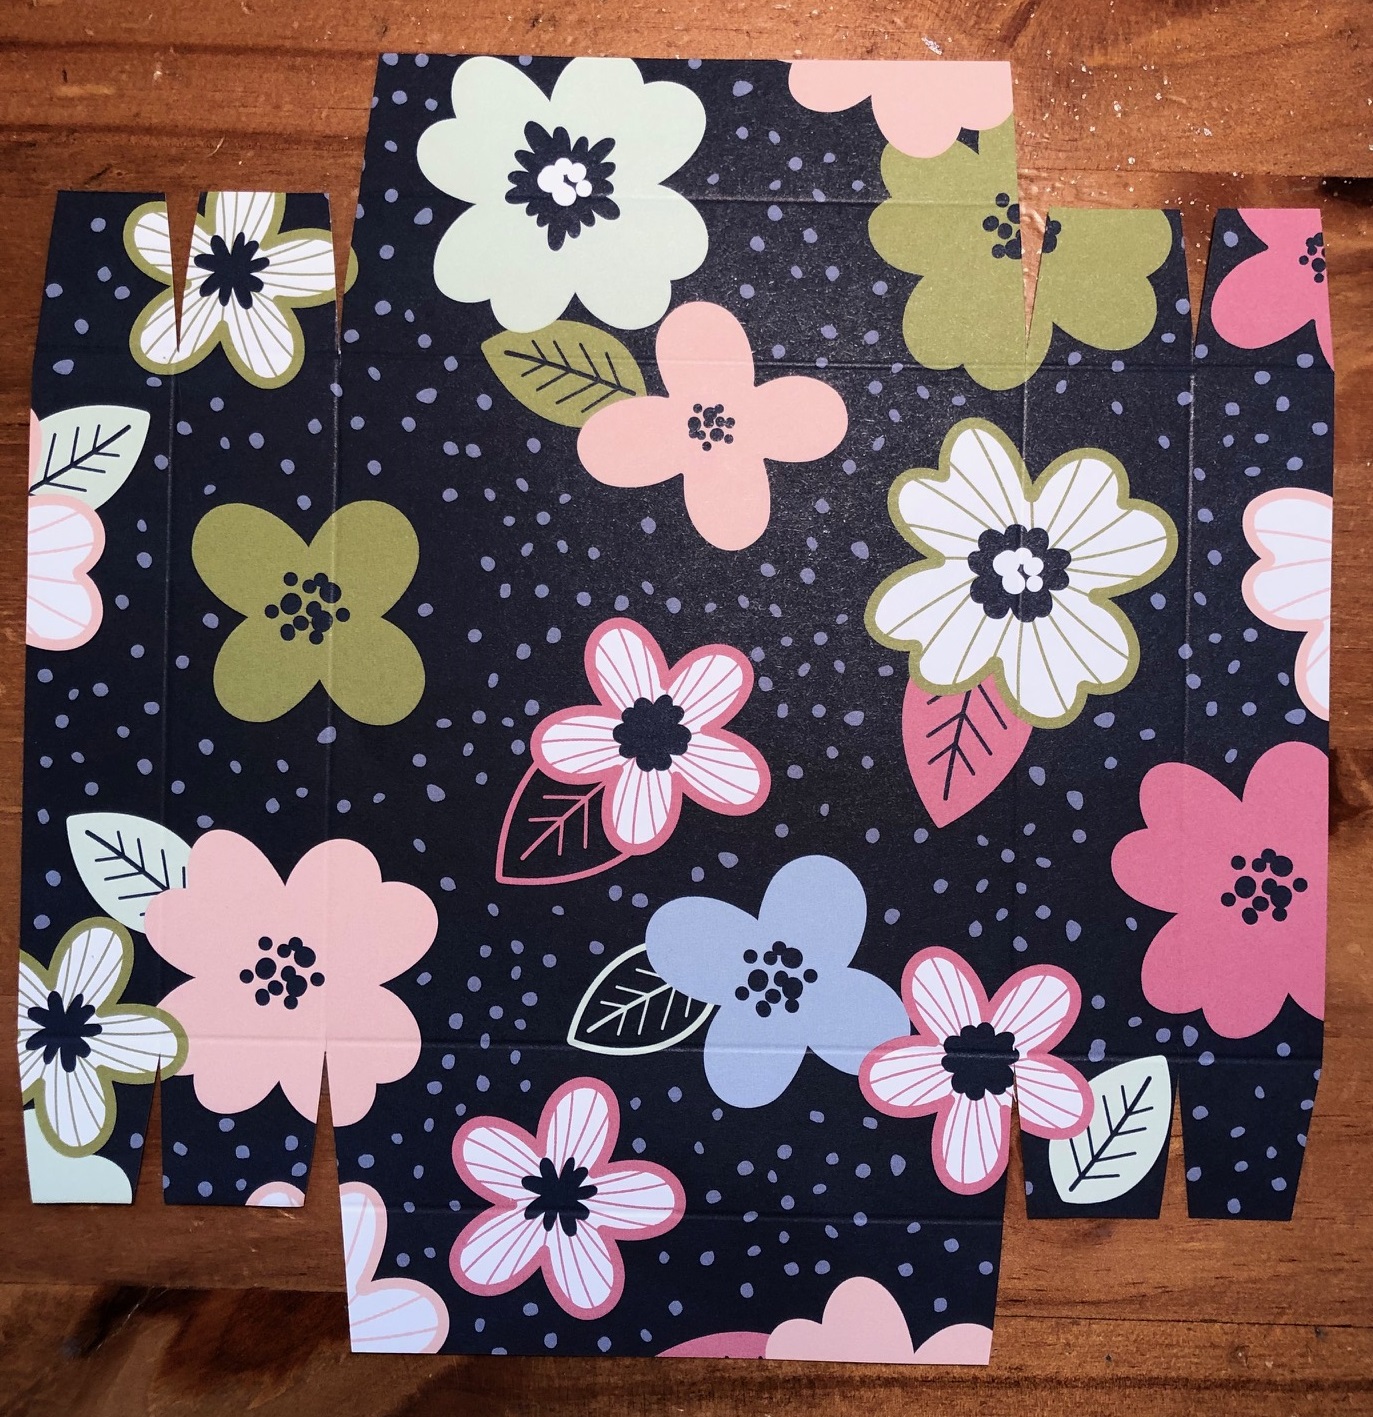
This gift box is super easy to make! The white box is made from the 12" by 12" piece of white cardboard that comes in every package of Stampin' Up's Designer Series Papers! Score that sheet at 4" and 8" on two sides so that you end up with 9 grid square with the writing in the center, like this.

Then cut along the dotted lines. Fold up the sides of your box and adhere, using your favorite strong adhesive (Tear & Tape, (Stampin' Seal+, Multi-Purpose Liquid Glue). Your box will look like this. (Don't worry, we'll take care of the writing in a later step.)


To make the lid, start with an 8" by 8" piece of Designer Series Paper. (Cut a 4" square from the remaining 4" by 12" strip and save it.)

Score the 8" by 8" DSP at 7/8" and 1-7/8" along each side.


Cut off the X'd squares and discard (or save in your "card parts" pile.)


Cut the dashed lines and miter all the edges.


Here's what your DSP should look like at this stage.


Next, fold along all the score lines. Use your bone folder to make sure the folds are crisp.

Fold the sides with the flaps over (you can use adhesive if you want) and make sure the flaps are headed toward the inside of the box, as shown. Apply adhesive to the sides without the flaps. 


Now fold one side with out flaps over the flaps (they tuck inside), squaring up the lid, and adhere. This step is a little fiddly, so take your time. In this picture, my thumb is pushing the side over the flap on the right side.

Repeat on the other side and your lid is finished!


Adhere your saved 4" by 4" DSP piece to the bottom of the box, covering the printing.


Decorate your lid as desired.


Sunday, December 6, 2020

Creation Station: Ice, Ice Baby


#stampinup   #creationstation   #faithfulinkspirations   

Hello and welcome to December! Can you believe this year of years is just about to be over?! Mind you, I don't think that just because the calendar turns from one month to the next, or one year to the next, that anything will change drastically, but I do hope that the future is bright and shiny! And speaking of bright and shiny, our Creation Station blog hop theme is "Ice, Ice Baby" in which we are to create a project that sparkles and shines. 

I had fun creating my project. I kept thinking of ways to make my card sparkle and shine. I did some experimenting--some things worked, others didn't, but it was fun spending time being creative. For my card, I went with products from the wonderful Snowflake Splendor Suite on pages 36 through 38 of the July through December Mini Catalog. That was the first Suite that caught my eye when the mini was revealed and I only bought one thing--the entire suite. See, if you use the item number for the entire suite (155115) you get everything in the suite and you don't have to feel bad because you only bought one thing!

Here's the card in all its icy, shiny splendor!

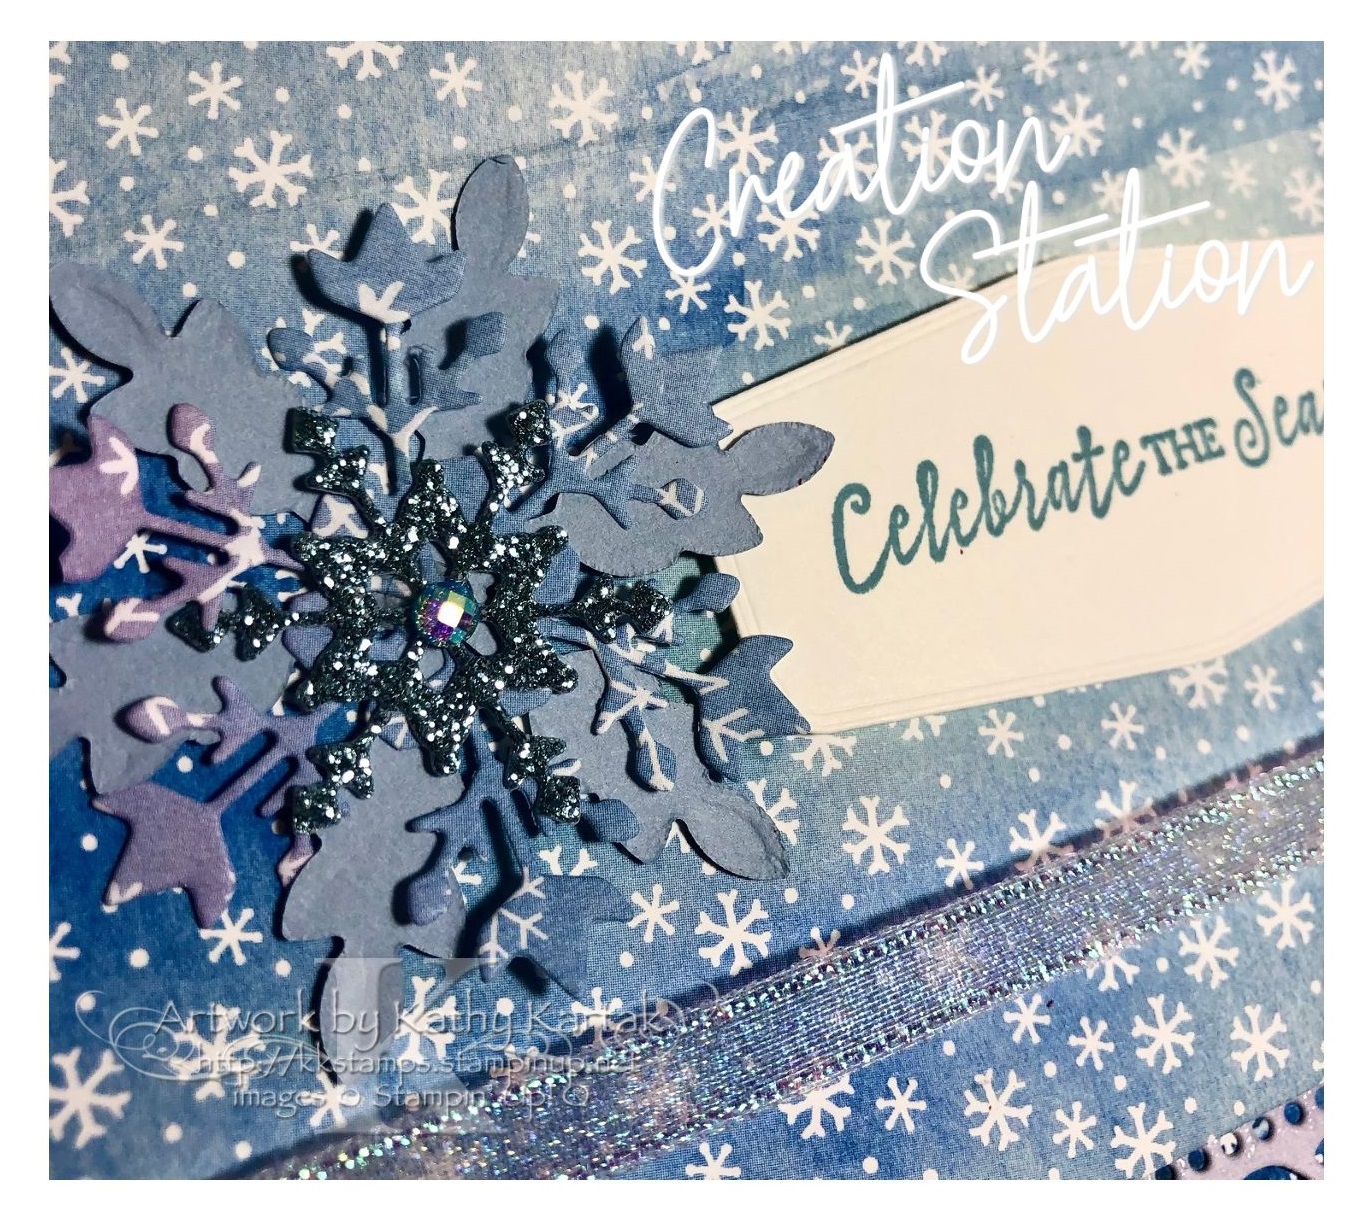
I really pulled out all the stops on this one! My card base is a quarter sheet (4-1/4" by 5-1/2") of Highland Heather Card Stock. I did a fun fold (keep reading for details) with the beautiful Snowflake Splendor Designer Series Paper. I used the So Many Snowflakes Dies to cut the window opening from a piece of Highland Heather Card Stock and to cut the snowflakes. I also used the sparkly Balmy Blue Shimmer Paper (2-7/8" by 4-3/8") and Blue Adhesive-Backed Gems. Oh! I almost forgot--I used the Snowflake Splendor Ribbon as well! I stamped the sentiment from the "Snowflake Wishes" stamp set in Gorgeous Grape Ink directly onto the Snowflake Splendor DSP and embossed it with Clear Embossing Powder to give it a little shine.

I used the Balmy Blue Shimmer Paper and various sheets of the DSP to make the snowflake elements. That's a great way to use up some random DSP pieces. I popped a Blue Adhesive-Backed Gem into the center of each snowflake and on the corners of the sentiment piece.

I also tied on a Glitter Star Ornament!

The card has two "insides"--it opens twice! It's so easy to make. Start with an 11-3/4" by 5-1/4" piece of DSP. Score it at 1-3/4", 4-3/4", and 7-3/4", then fold it accordion style. Adhere the 4" by 5-1/4" end to the quarter sheet of card stock.

On the 1-3/4" by 5-1/4" end of the DSP, you'll place the sentiment piece. I adhered it with 4 Stampin' Dimensionals, like this.

Next, you'll wrap about 7" inches of ribbon around the middle folded piece, like this. (This is the back of the middle piece.)


You won't waste ribbon where it won't be seen if you "cheat" it around the back of your card as shown above. The box shows your adhesive placement and you'll fold it over to the left. The front of this piece will look like the next picture and you can use another piece of ribbon slipped underneath to tie on your bow and Glitter Star Ornament.


The first flap of the card opens to reveal another snowflake, the ribbon, and a sentiment piece. I stamped a sentiment from the "Itty Bitty Christmas" stamp set in Balmy Blue Ink onto Whisper White Card Stock and cut it out with one of the Tasteful Label Dies I adhered the sentiment piece with Stampin' Dimensionals.

Here's a close-up of the layered snowflake. This time I added in a Balmy Blue Card Stock snowflake for a little variety!

Lift that flap to reveal the second sentiment!


For this one, I used one of the Ornate Layers Dies to cut out another piece of Snowflake Splendor DSP. I stamped a sentiment from the "Snowflake Wishes" Stamp Set in Gorgeous Grape Ink and the snowflakes in Gorgeous Grape and Bermuda Bay Inks directly onto the DSP. Then I "stamped" a Versamark Ink pad directly onto the DSP and embossed the entire front with Clear Embossing Powder. It took a couple of applications, but it's got a nice, icy shine to it. (And if you look at the card when it's closed, you'll see a little bit of the lacy ornate layer peeking out!)

A beautiful card like this deserves a beautiful envelope, so I used another piece of the Snowflake Splendor DSP to line the inside. (I didn't take a picture of that; use your imagination!) When I was inserting the liner into the envelope, the crease tore a bit, so I had to make a creative cover-up...and here's how it turned out!! 

I always say, "There are no stampin' mistakes, only stampin' opportunities!"

The card and envelope likely won't make it through the mail, so this one will be hand-delivered along with a Christmas gift, I'm sure!

I hope you've enjoyed my sparkly card and the journey from idea to creation!

Next up is the fabulous Yvonne Spikmans-Van Bruggen at the Creative Teacup blog. I know her project will inspire you!


I hope you have a Merry Christmas or Happy Hanukkah or Wonderful Winter--whatever you celebrate, I wish you good health and joy. See you next year!!


Product List