Showing posts with label Silhouette Scenes. Show all posts

Tuesday, August 13, 2019

Happy Soul

#stampinup   #faithfulinkspirations   #ProtipTuesday   Hey there! I have a confession to make: my stampin' studio is a mess. It's got boxes everywhere--NEW! product from the Holiday catalog is strewn all over the floor, boxes of retired product are stacked on one of my work tables, and there are birthday presents all over the place. My twins turn 20 this week! Ack! I can't believe it. And they return to college on Friday. If you think my stampin' room sounds messy--you should just try to imagine their rooms. There are clothes all. over. the. floor. of both rooms. It's so bad that you cannot (I kid you not) see the floor. All of those clothes need to be washed and sorted and packed. I'm a little bit panicked.

So I'm taking a bit of time to do what makes my soul happy--and that's creating (which also adds to the mess in my stampin' room). Today's card is one that we made at the Proverbial Stampers & Friends gathering--but that I added some embellishments to it so that I could share the Tuesday Protip with you. (I apologize that the picture is so dark--see the previous paragraph about my studio being a mess--including my photo area.)
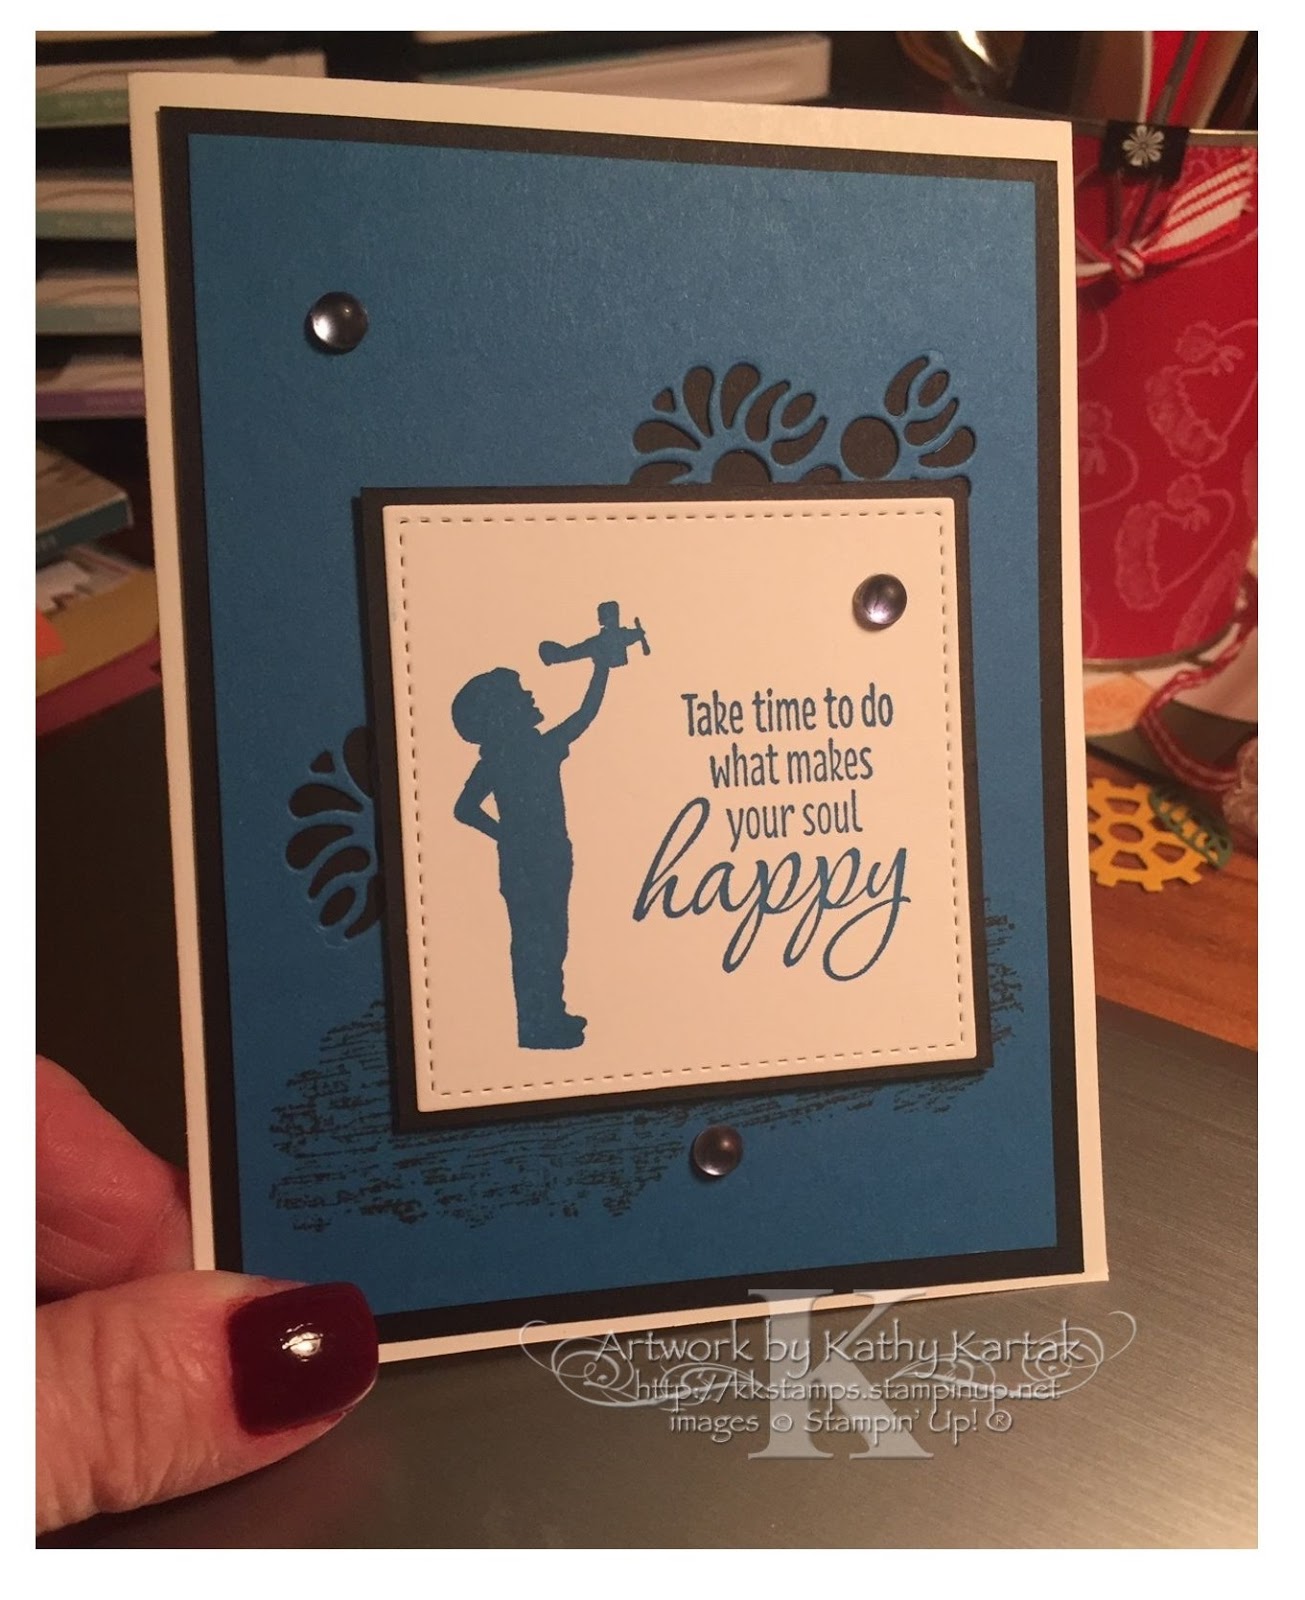
We started with a 3-3/4" by 5-1/8" Pacific Point Card Stock panel and cut out the flowers with the Tasteful Backgrounds Dies. We also stamped the smudgy pattern from the "Tasteful Textures" stamp set onto this piece in Memento Tuxedo Black Ink. We adhered this to a 4" by 5-1/4" Basic Black Card Stock mat and then onto a Thick Whisper White Card Stock card base.

Next, we stamped an image from the "Silhouette Scenes" stamp set and a sentiment from the "Tasteful Textures" stamp set in Pacific Point Ink onto Whisper White Card Stock and cut it out with a square Stitched Shapes Die. We adhered that to a Basic Black Card Stock square that we cut with a Layering Squares Die. We adhered this piece to the card with Stampin' Dimensionals.

I added three Frosted Epoxy Droplets to the card and then colored them with a Light Basic Black Stampin' Blend Marker for a little pizzazz.

Let's pretend that the droplets weren't adhesive-backed and let's pretend that we wanted to adhere them to the card with the Fine-Tip Glue Pen. And let's pretend that the Glue Pen was clogged. Do you know how to fix that? If you don't, here's today's Protip for unclogging the Fine-Tip Glue!

The first thing you need to do is unscrew the top from the bottle and then unscrew all four pieces of the top. Next, clear the "goo" off the top of the bottle. I just pick up a piece and it peels right off. Set the bottle aside.

You'll need two special tools for the next steps. First, my special "patent pending" tool (top left) (which can also be used to poke out the hanging chads from your die-cuts if you're too lazy to go get your die brush--ask me how I know) and a straight pin.


Use my special tool to dig out any "goo" (AKA "boogers" from all parts of the components of the top of the glue bottle (top right--see how clogged that piece is?). Next, slowly insert a straight pin into the metal top of the Fine-Tip. You might not be able to do this if the Fine-Tip is clogged. If that's the case, hold the assembly with a pair of tweezers and melt the "goo" with your heat tool. Pump the straight pin in and out of the tip. You may have to repeat the heat-and-pump step a number of times to really clear that Fine-Tip.

I usually blow into the two black pieces and the yellow piece to make sure air can get through--if air can get through, then so can the glue. Use the straight pin to keep the Fine-Tip open, or insert the pin from the white lid into the tip.

And there you have it!

Come on back tomorrow for another entry in the Christmas in August card extravaganza!!


Product List

Tuesday, July 23, 2019

You Inspire Me

#stampinup   #faithfulinkspirations   #ProtipTuesday   Today's card is made with another stamp set I totally missed in the catalog.  I sometimes just miss things in the catalog and I'm surprised when I finally "discover" them. It usually takes me seeing an example made by someone else or, in this case, when our Proverbial Stampers & Friends get together to make samples from the new catalog. I'll be sharing several of the cards we made with the "Silhouette Scenes" stamp set, so keep checking back to see what I have to offer.

This card is a variation of the card shown on page 135 of the Annual Catalog--and it's a variation of the card sample from the Proverbial Stampers gathering. As I always tell my stamping friends, I give you a design and everything to make it, what you do with it is up to you!  Both the sample in the catalog and the Proverbial Stampers sample had a color-washed background. I decided to go a bit simpler--but I twisted the card stock panels behind the main image for a little more interest. 

Before I give you the step-by-step on making this card, let me give you the Tuesday Protip. Have you ever adhered something to your card and then found that it wasn't straight or that you adhered it to the card and it's now upside-down? You haven't? Well, I have. Jillions of times! Do you know how to easily fix that? You know, in case it happens to you in the future? Use your Heat Tool! Yep! Aim your Heat Tool at the back of the card and it will loosen the adhesive so that you can carefully peel the layers apart. You have to be careful not to burn your fingers or the card stock, but it works like a charm! (Ask me how I know!)

So for this card, we stamped the silhouette of the girl on a swing in Pretty Peacock Ink onto a 2-3/4" Very Vanilla Card Stock square. We punched the corners with the corner of the Everyday Label Punch. Next, we cut out the Petal Pink trellis with one of the Tasteful Backgrounds Dies and cut it into two pieces. We adhered a piece to each side of the stamped image piece.

We stamped a sentiment from the "Silhouette Scenes" stamp set in Pretty Peacock Ink onto a 1-1/2" by 2" strip of Mint Macaron Card Stock and snipped the banner end with Paper Snips. We tied a length of Whisper White Baker's Twine into a bow and adhered it to the banner with a Glue Dot.

I cut the piece of Petal Pink Card Stock we were given with a larger Stitched Rectangle Die and I adhered it at an angle to a Pretty Peacock Card Stock card base. I adhered the  3-3/4" by 5" Very Vanilla Card Stock panel on top of this piece--again at an angle. Then, I adhered the stamped image, with the trellis attached, to the card with Stampin' Dimensionals. I also adhered the banner with Stampin' Dimensionals.

For a finishing touch, we added three Woven Threads Sequins to the card with Fine-Tip Glue. 

So, here's the recap of your three Protips. First, take a close look at all the pages in the catalog because you don't want to miss anything. Second, do your thing--you don't always have to follow the directions! And finally, your Heat Tool is useful in more ways than one!


Product List