So I'm taking a bit of time to do what makes my soul happy--and that's creating (which also adds to the mess in my stampin' room). Today's card is one that we made at the Proverbial Stampers & Friends gathering--but that I added some embellishments to it so that I could share the Tuesday Protip with you. (I apologize that the picture is so dark--see the previous paragraph about my studio being a mess--including my photo area.)
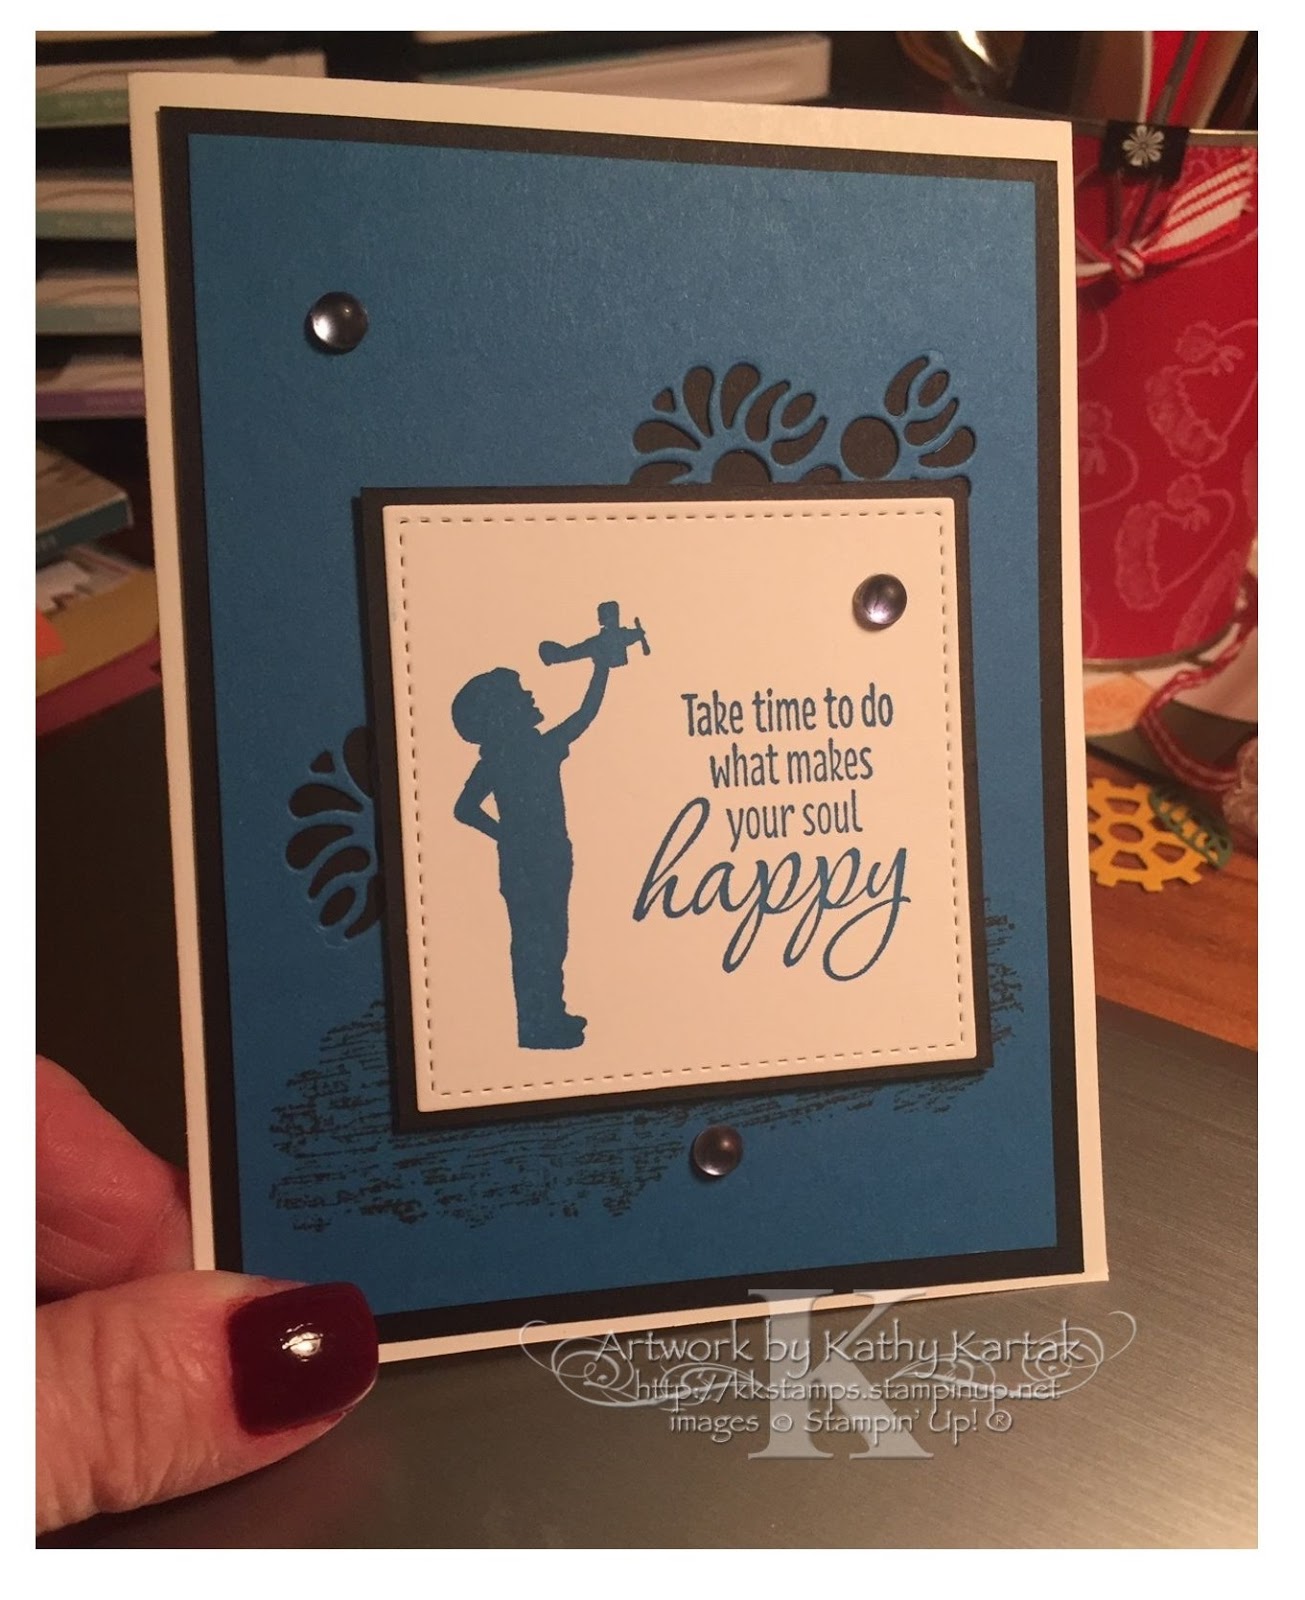
Next, we stamped an image from the "Silhouette Scenes" stamp set and a sentiment from the "Tasteful Textures" stamp set in Pacific Point Ink onto Whisper White Card Stock and cut it out with a square Stitched Shapes Die. We adhered that to a Basic Black Card Stock square that we cut with a Layering Squares Die. We adhered this piece to the card with Stampin' Dimensionals.
I added three Frosted Epoxy Droplets to the card and then colored them with a Light Basic Black Stampin' Blend Marker for a little pizzazz.
Let's pretend that the droplets weren't adhesive-backed and let's pretend that we wanted to adhere them to the card with the Fine-Tip Glue Pen. And let's pretend that the Glue Pen was clogged. Do you know how to fix that? If you don't, here's today's Protip for unclogging the Fine-Tip Glue!

You'll need two special tools for the next steps. First, my special "patent pending" tool (top left) (which can also be used to poke out the hanging chads from your die-cuts if you're too lazy to go get your die brush--ask me how I know) and a straight pin.

Use my special tool to dig out any "goo" (AKA "boogers" from all parts of the components of the top of the glue bottle (top right--see how clogged that piece is?). Next, slowly insert a straight pin into the metal top of the Fine-Tip. You might not be able to do this if the Fine-Tip is clogged. If that's the case, hold the assembly with a pair of tweezers and melt the "goo" with your heat tool. Pump the straight pin in and out of the tip. You may have to repeat the heat-and-pump step a number of times to really clear that Fine-Tip.
I usually blow into the two black pieces and the yellow piece to make sure air can get through--if air can get through, then so can the glue. Use the straight pin to keep the Fine-Tip open, or insert the pin from the white lid into the tip.
And there you have it!
Come on back tomorrow for another entry in the Christmas in August card extravaganza!!

Product List


")
No comments:
Post a Comment